Geometric and non-geometric changes you make in system files are not directly recorded in the system. In order for this change to occur in the system, it must be sent back to the system. The same rules apply to shared files and personal files.
Step 1: Adding System File to the Map
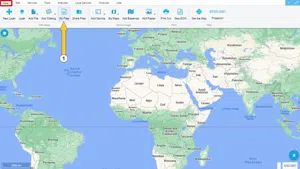
To display the system files on the map, click on the "My Files" button in the "Data" upper menu. The layer you want to work on is added to the map with the help of the button.
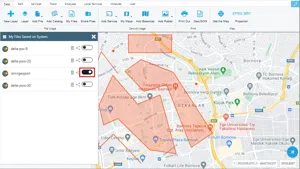
Step 2: Making Changes on the Map
Various changes can be made within the layer. Like adding geometry, editing geometry, deleting geometry or changing the geometry feature. Various geometries have been added, deleted or edited within the sample.
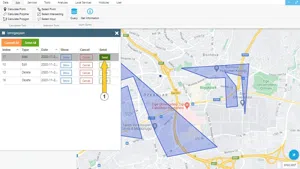
In order to save the changes to the system, click on the options button of the layer that has been changed in the layer box. Click on 'Send Back to System' option in the options.

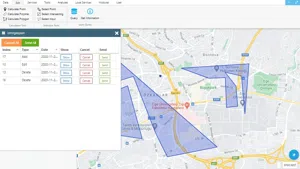
In the window that opens, the modified geometries (added, edited, deleted) are listed. There are 3 buttons next to each geometry.
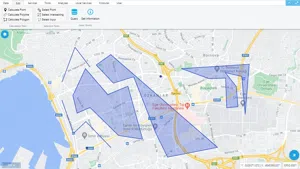
Step 3: Showing Geometry on the Map

You can view the geometry on the map with the Show button.
Step 4: Canceling the Geometry Change

You can undo your changes via the 'Cancel' button on the panel. The deleted Geometries are added back to the map. The edited geometries are reverted. Added geometries are deleted from the map.
Step 5: Sending the Geometry Change
You can send the geometries to the system one by one using the 'Send' button next to the geometry you want to send to the system.
Step 6: Canceling Geometry Changes Collectively
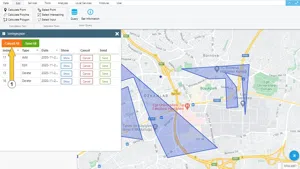
The changes made can be easily restored collectively. You can undo all your changes by using the 'Cancel All' button on the panel.
Step 7: Sending Geometry Changes Collectively

You can use the 'Send Collectively' button on the panel to send the changes made within the layer to the system collectively. All changes made are saved in the system.
A status message will greet you after clicking this option. This way you can be sure the geometries are sent correctly.


Related Documents