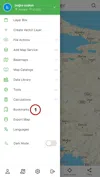
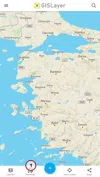
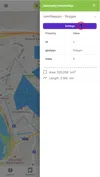
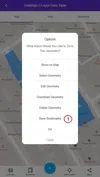
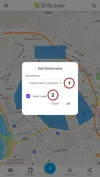
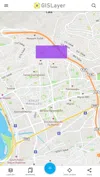
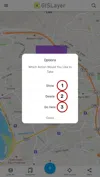
If there are common geometries used or important places to be recorded on the map, it is very easy to do this in BlueGIS software.
Other Documents
10.03.2020
10.03.2020
3-Upload Multiple Spatial Files
10.03.2020
10.03.2020
5-Attribute Table and Features
10.03.20206-Feature Attribute Table - Operations
10.03.2020
10.03.2020
10.03.2020
10.03.2020
10.03.2020
10.03.2020
10.03.2020
10.03.2020
10.03.2020
10.03.2020
10.03.2020
10.03.2020
10.03.2020
10.03.2020
10.03.2020
10.03.2020
10.03.2020
10.03.2020
25-Re-Adding Previously Added Layers
10.03.202026-Filtering With Overpass API
10.03.2020
10.03.2020
10.03.2020
10.03.2020
10.03.2020
10.03.2020
10.03.2020
10.03.2020
34-Point Creation Using Slope And Distance
10.03.202035-Bearing And Length Calculation
10.03.2020
10.03.2020
10.03.2020
10.03.2020
10.03.2020
10.03.2020
41-Creating Point By Clicking The Map
10.03.2020
10.03.2020
10.03.2020
44-Listing System Files And Adding To Map
10.03.2020
10.03.2020
46-Displaying Shared Files And People
10.03.202049-Add, Edit, Delete Geometry in Real-Time
10.03.202050-Sending Back System Layers Changes
10.03.2020
10.03.2020
52-Listing Maps Shared With Everyone
10.03.202053-Displaying Available GISMoney
10.03.2020
10.03.2020
10.03.2020






Related Documents